how to scan LomoPurple negative film
One of my favorite film stocks is LomoPurple. It's a color negative stock that renders green as magenta giving a unique alien world look. It being such a wacky color scheme, it was very difficult to scan and digitize.
This is my journey. It was all worth it.
If you are into analog photography and just starting out, don't get discouraged if your first scans from the lab are hot garbage. Keep the negatives, as you get better scan them again yourself later. You'll be glad you kept them. I had these lab developed and a low res scan was included and they were super pale and boring. Much happier with my own scans.
Go to the last section if you just want the best settings I've found for LomoPurple.
The chaos at the end of the rabbit hole.
These are all the variations from different settings on the scanner. Or at least the ones I bothered to save.
I used a Plustek 8100 for the scanner and Vuescan for the software. Highly recommend vuescan and their project, they're building a program that runs practically any scanner ever made, and they offer a buy it for life option, check vuescan out here.
I just started scanning my own negatives a few months ago and knew that the scanner and software has a huge impact on the final image but had now idea how drastic that could be.
I tried a huge variety of things to,
- remove the base fog,
- reduce or remove the color noise,
- get rich purple trees, I want it looking weird
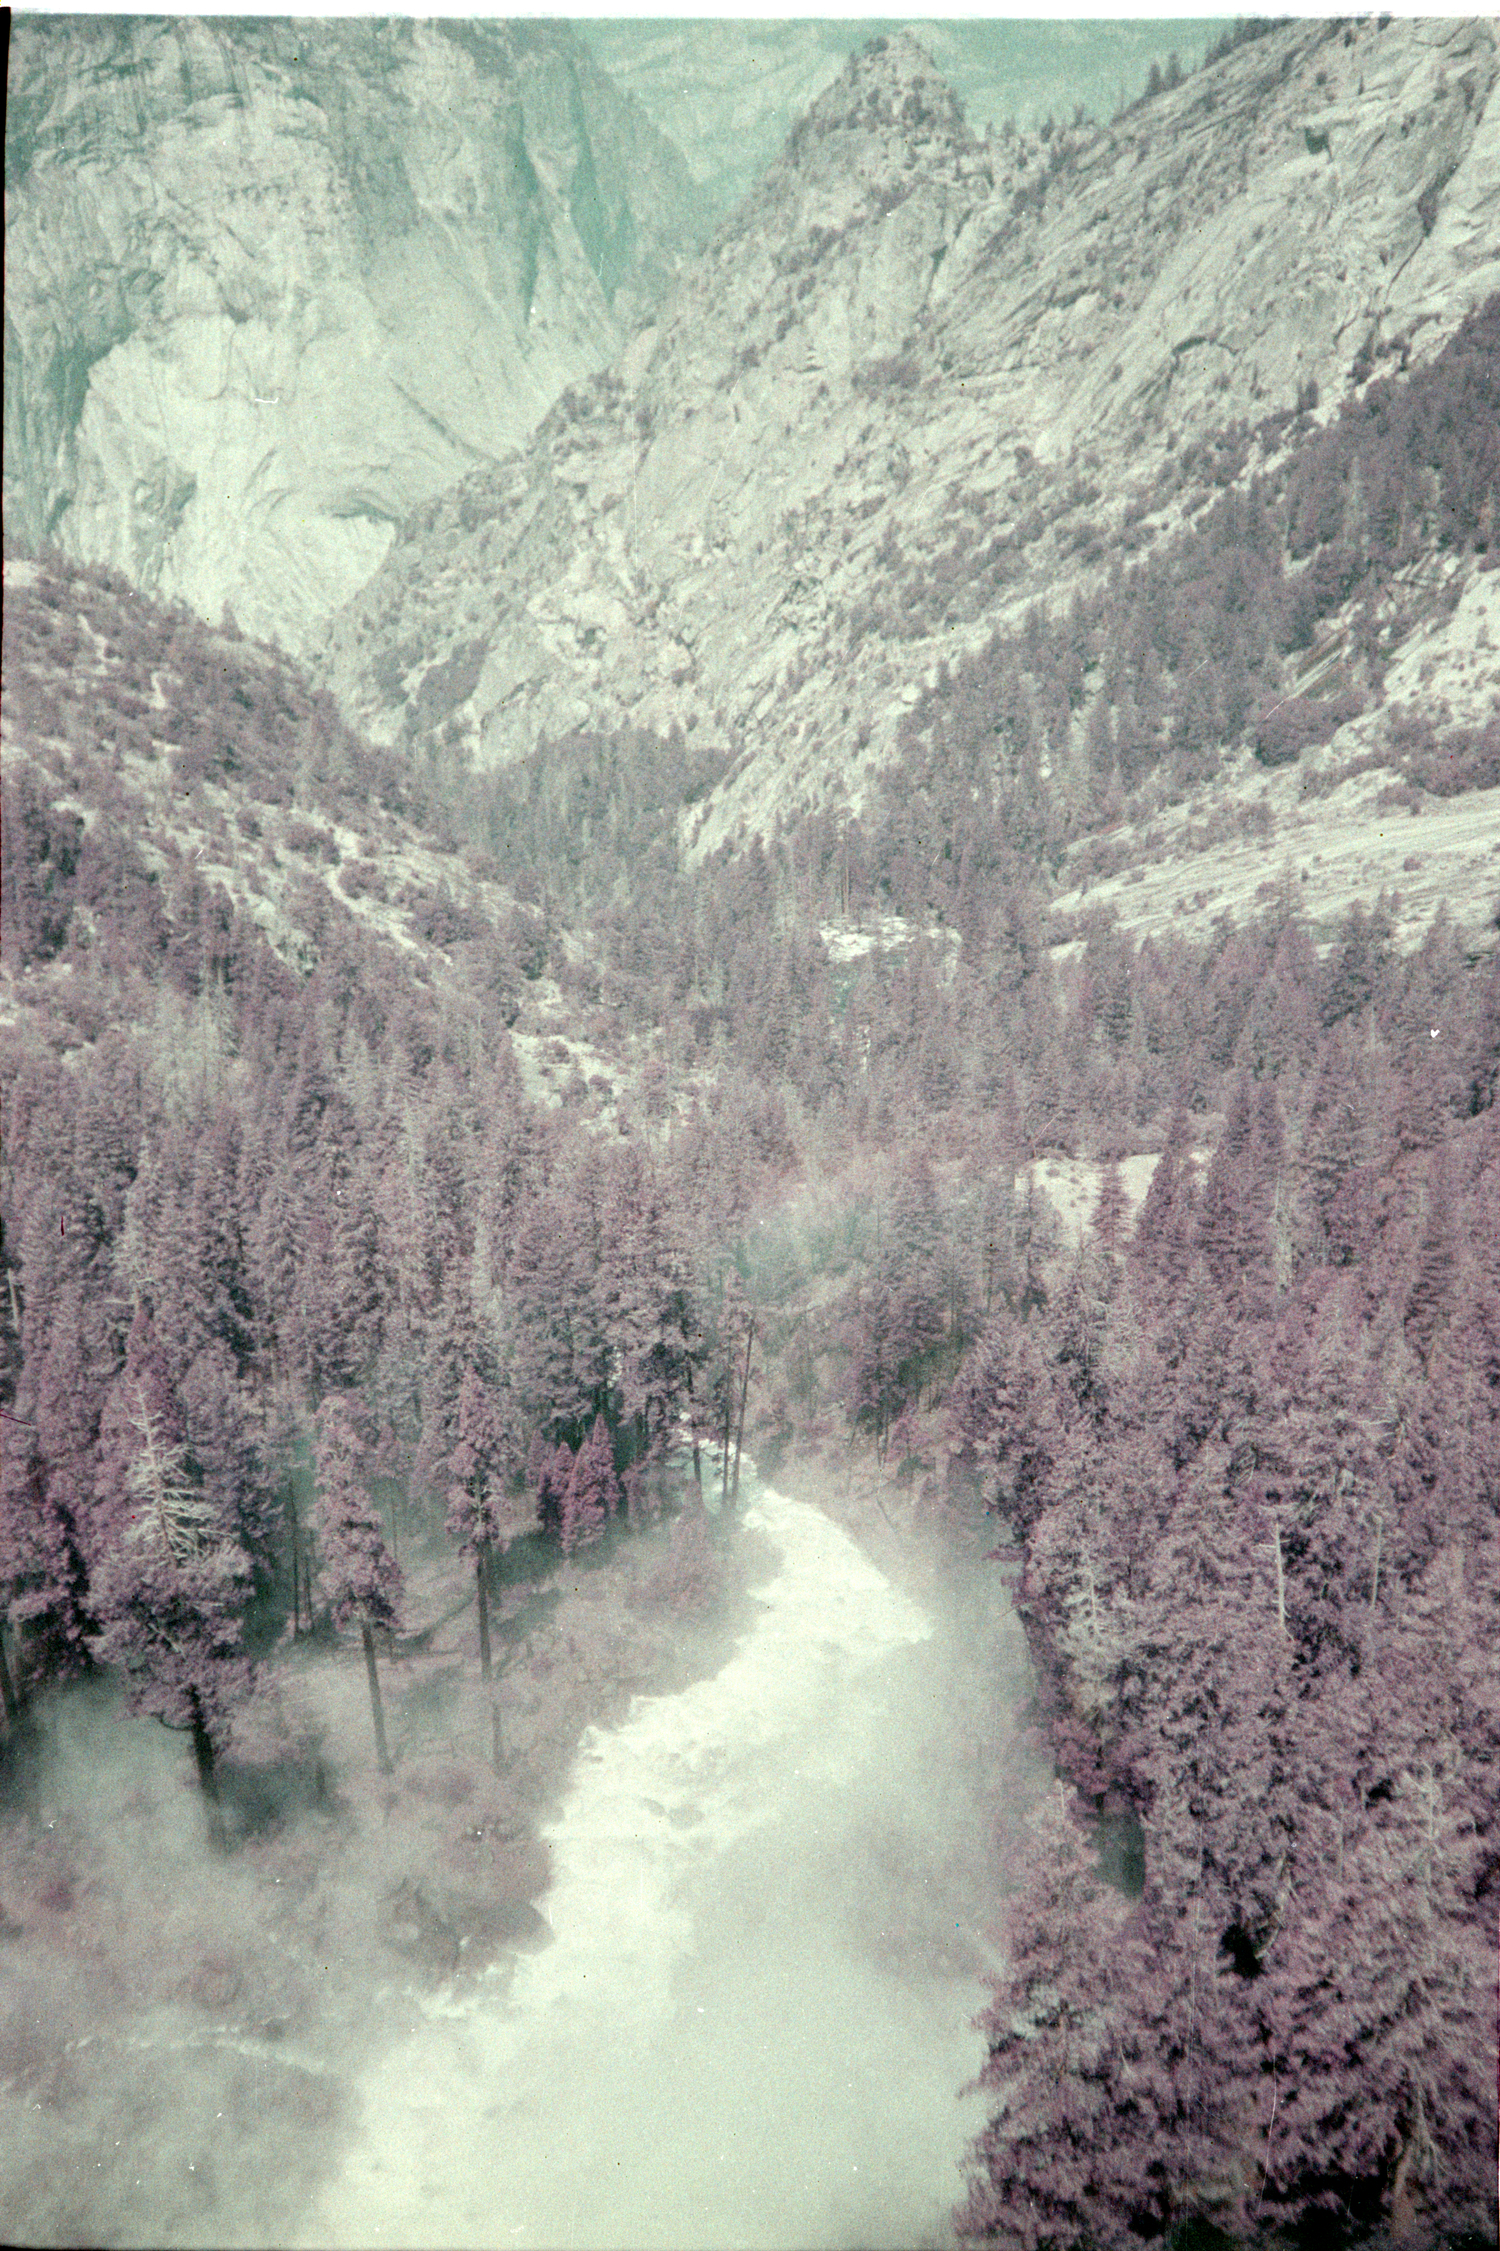
Attempt 1

you get the crazy purple trees and the cyan skies, but it's still kind of cooked ya know? The sky in the distance has a lot of color noise and the mist from the river is kinda grey and weird, and the whole thing is a bit hazy. But not a bad baseline. This was with default color negative settings.
Attempt 2
So then I went to full auto mode.
All the color is gone, the haze is worse.
Attempt 4 or 5 idk
I tried doing multiple passes to reduce the color noise from the scanner. I also actually read the vuescan manual which recommends locking the exposure and the film base color. This is done by doing a preview scan on a blank frame (or a border between images you just need the base stock) hit the "lock exposure" button, doing another preview scan, then hitting the "lock film base color" button. The first step sets the black on the final image (its a negative so the thinnest part without any emulsion will be the darkest in the positive) and the second step vuescan uses to somehow remove the base color of the filmstock when converting to a positive. Idk how it does that second part, its a black box just trust it.
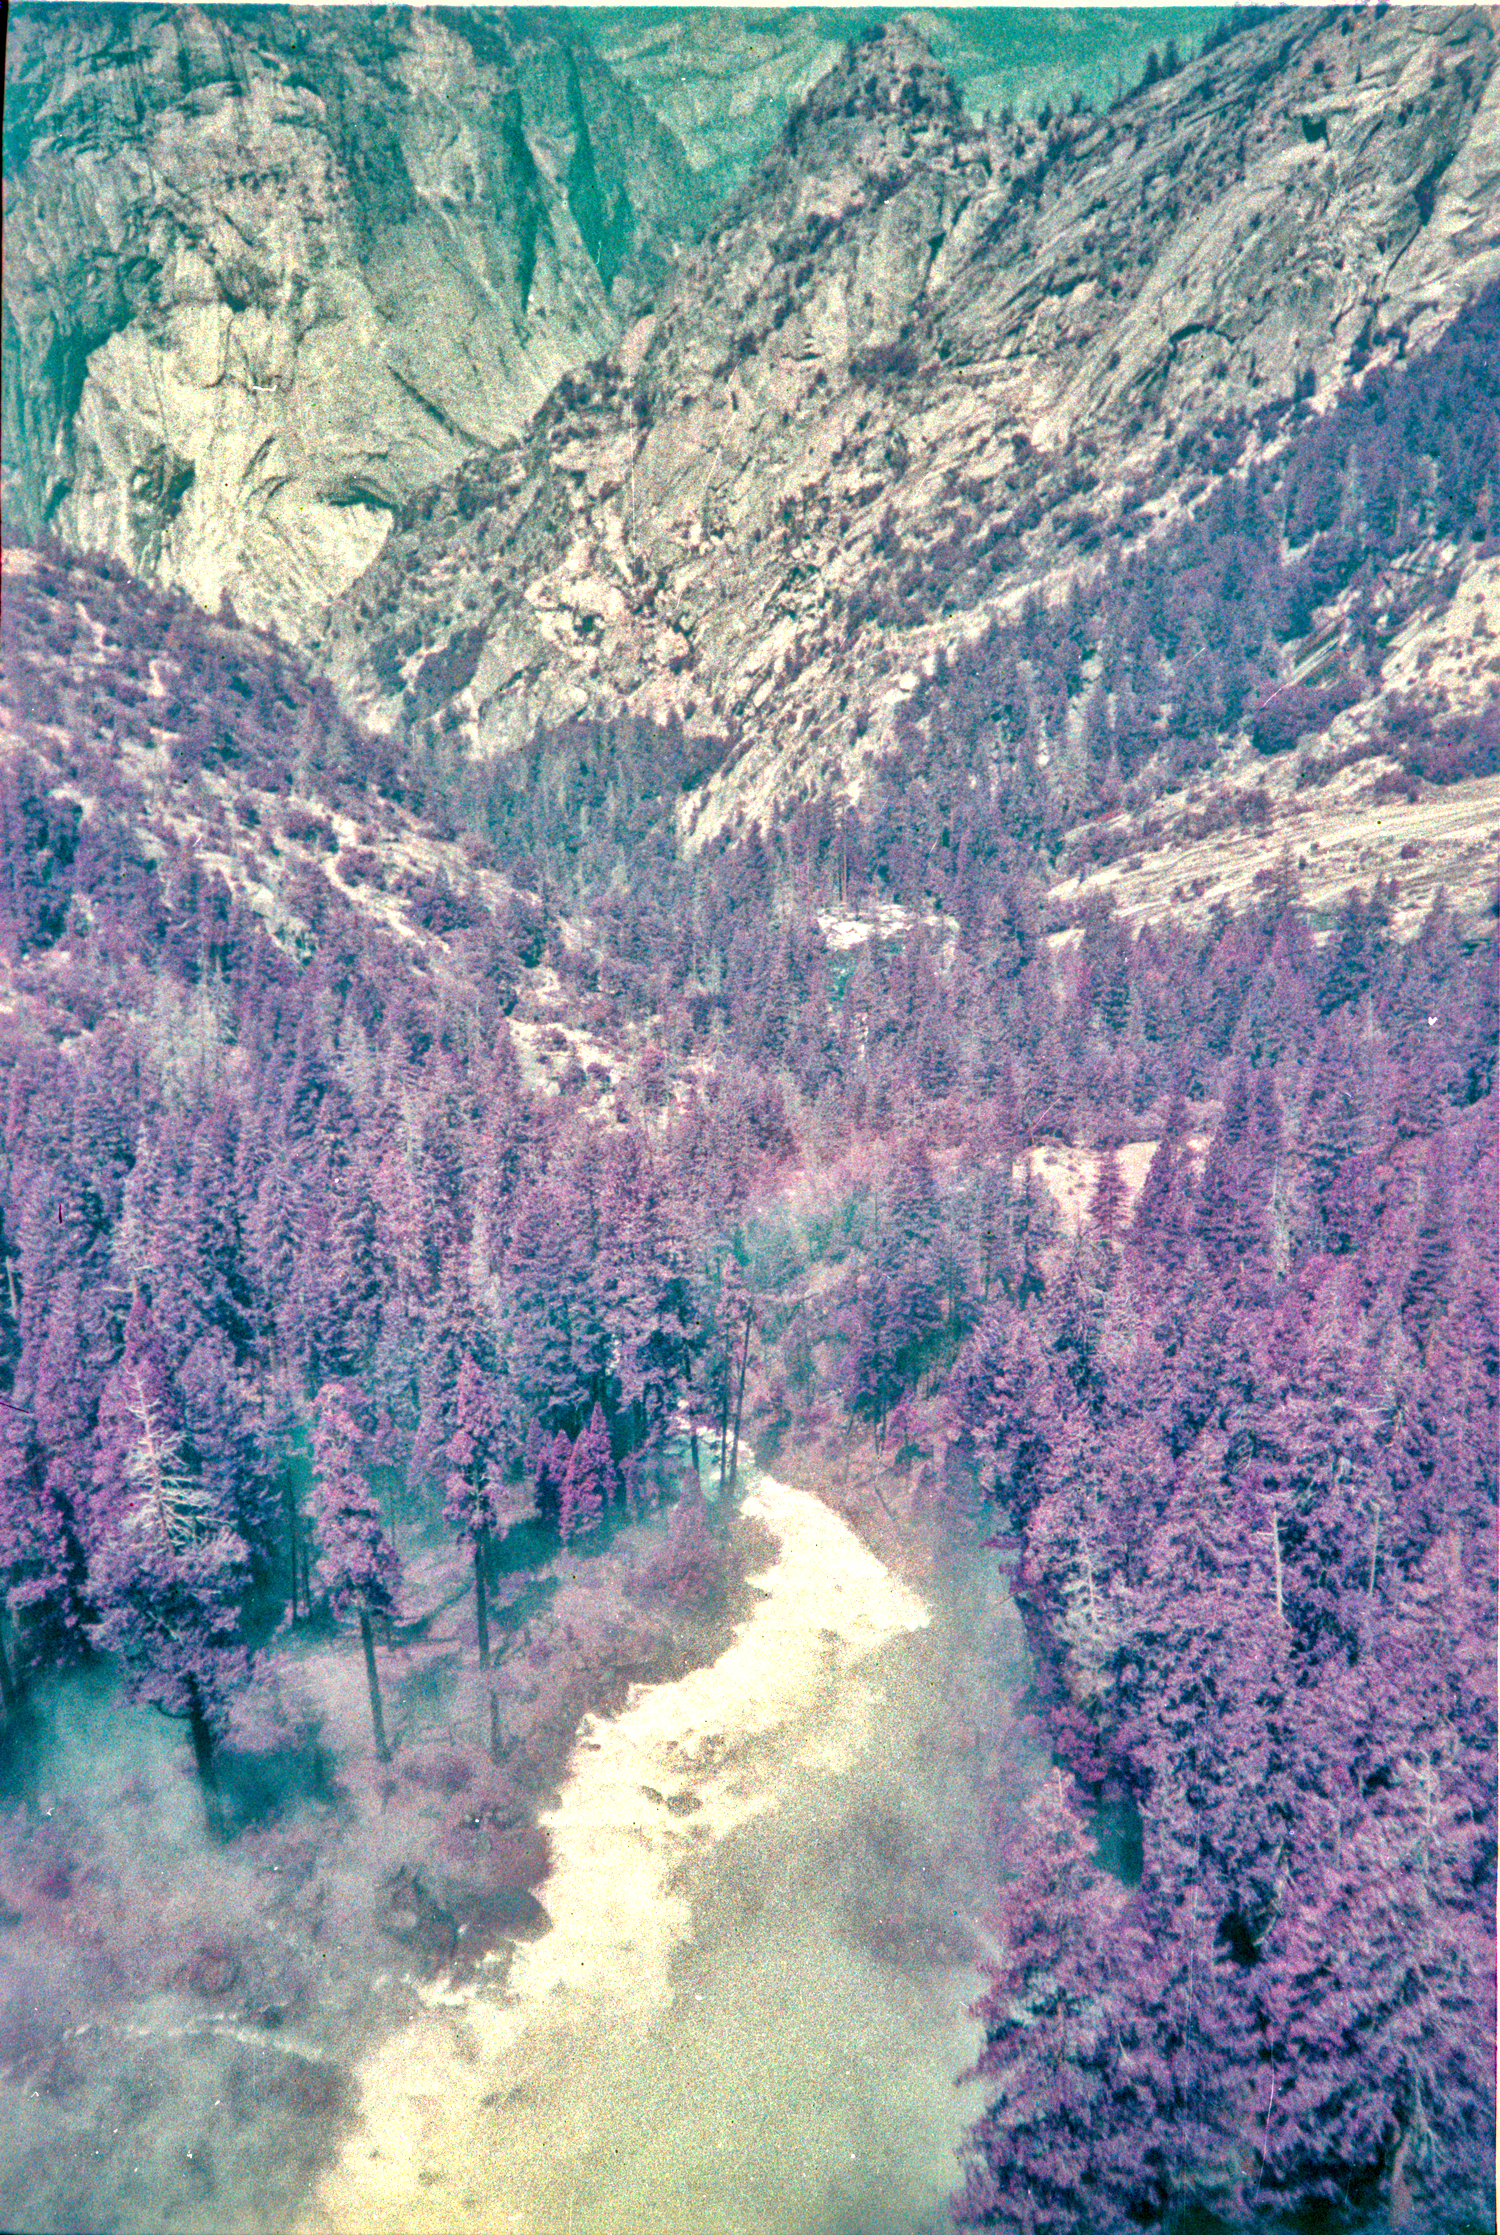
I mean its a look for sure. The mountain on the right came out super constrasty and the whole thing is weirdly bright but not? The purple is better but not as good as the first attempt.
As a sidenote, I did try editing these as I went and I could kind of save some of them but not really. The best approach I've found is get it as close as you can coming out of the scanner so you don't have to move it much in editing later.
Attempt 475 after reading the manual front to back
It turns out, that the crop has a huge effect on how the color is calculated. Vuescan (and other softwares I assume) need something to pin the edges of the histogram for what is black and what is white. It then maps the scanner's sensor data between those two points. If your crop includes all of the borders around your image, its gonna mess with the histogram's distribution.
Exhibit A,
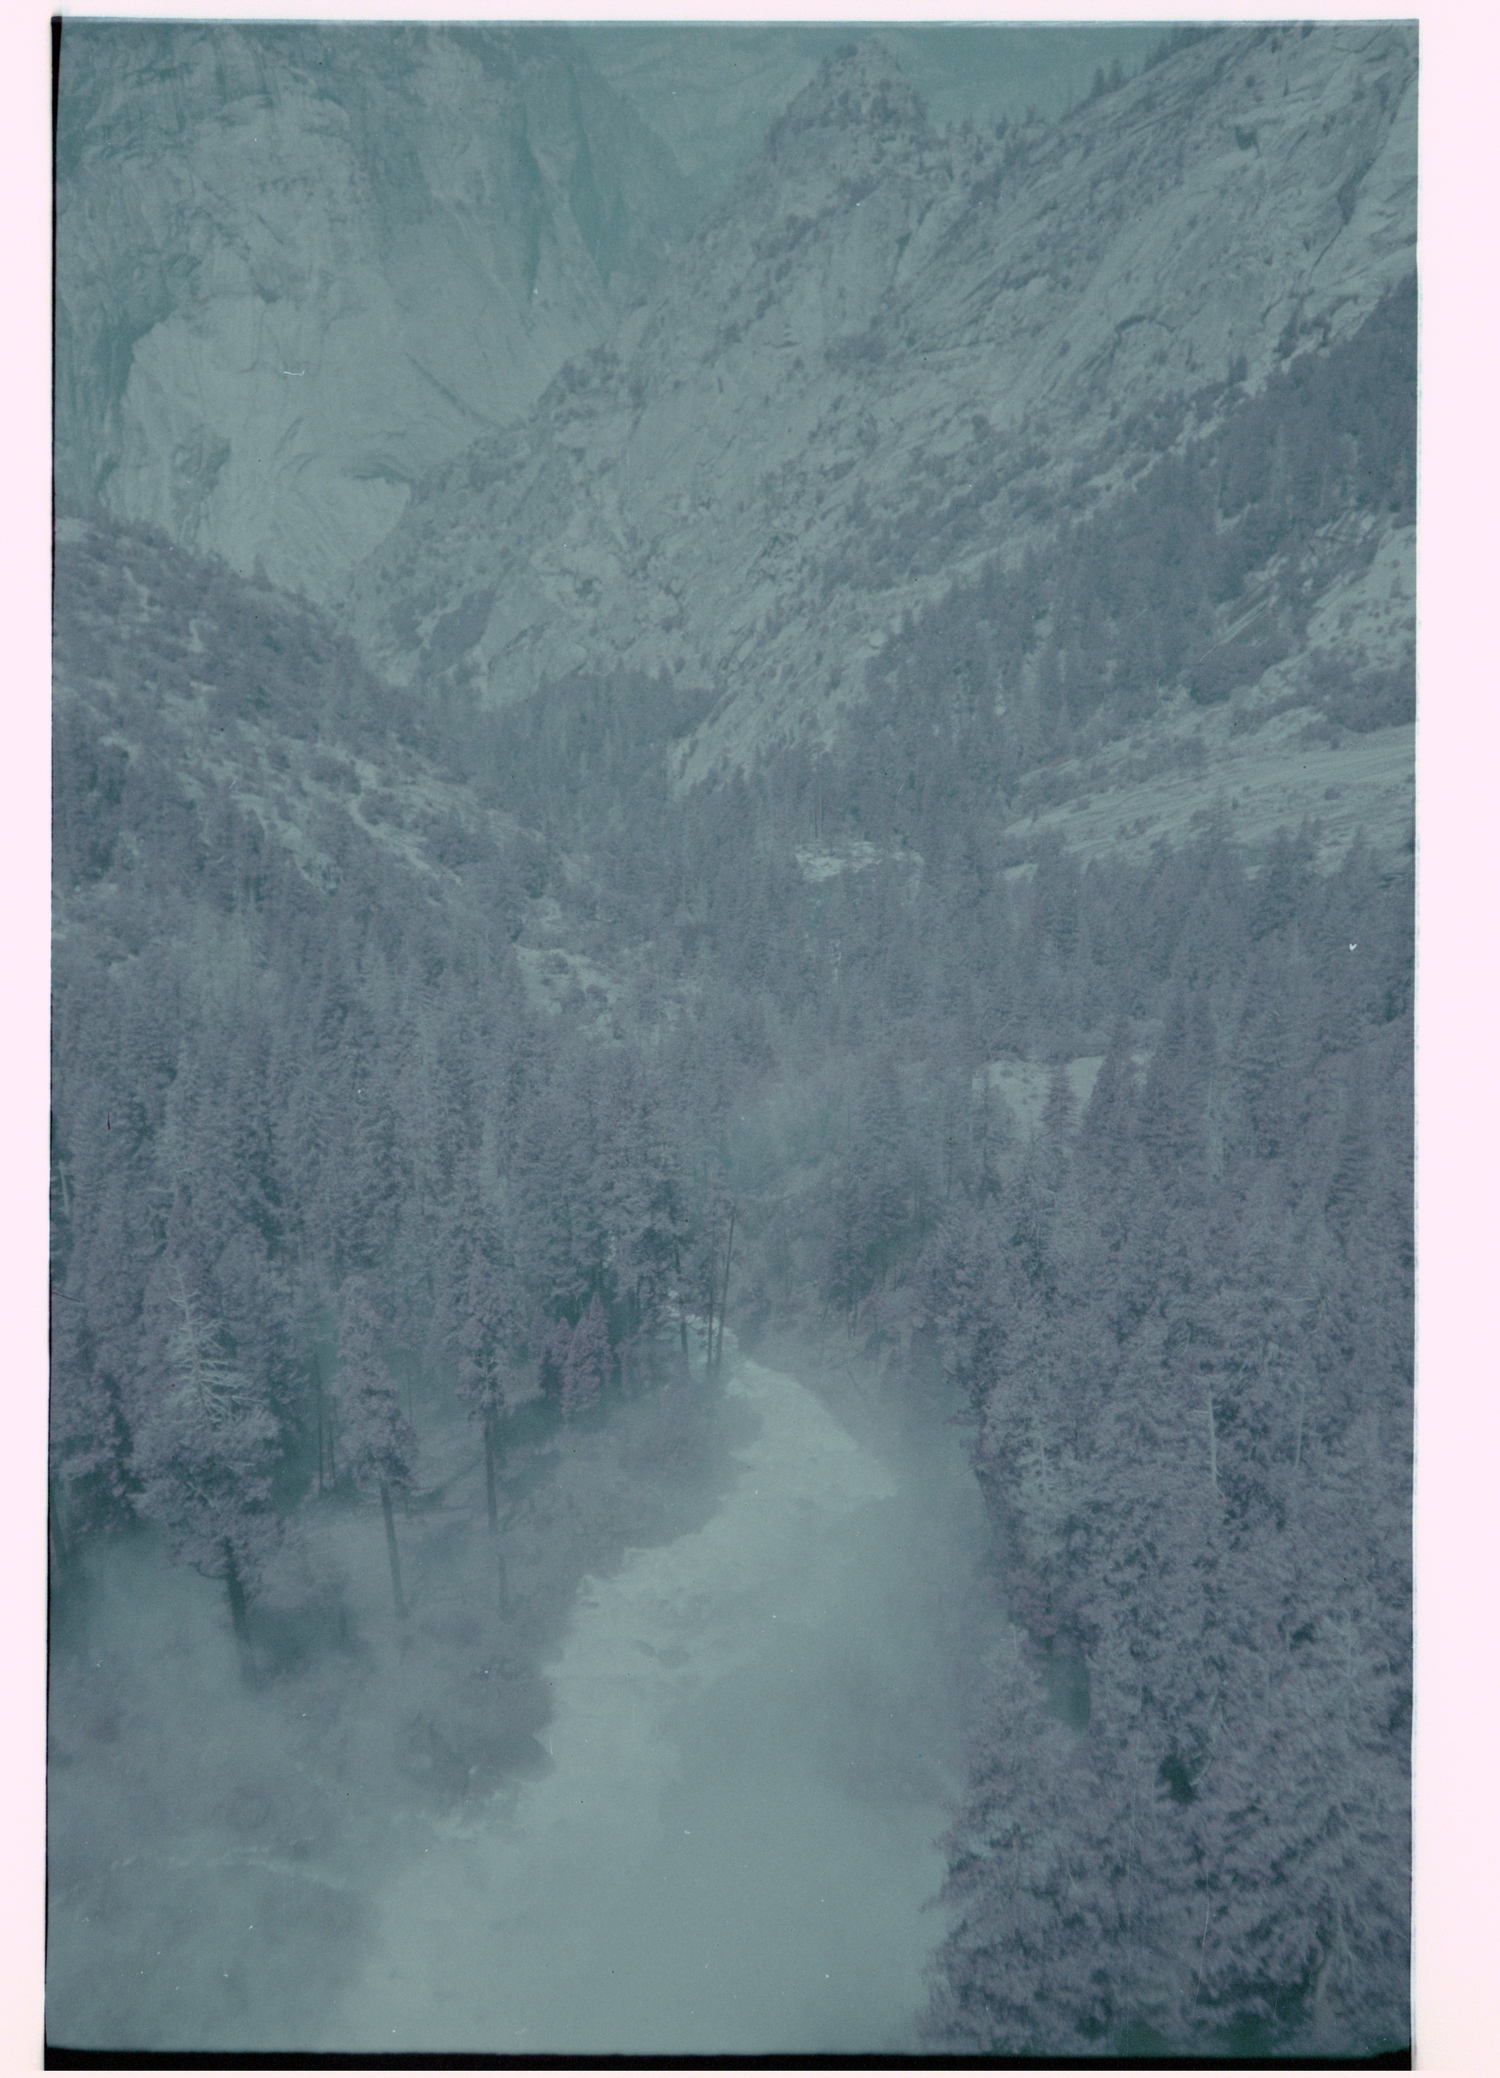
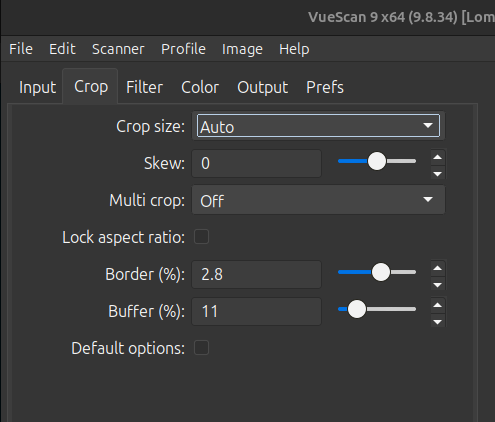
There's like nothing there! But this was actually part of the problem with the base fog. Do a preview scan, this allows the autocrop to get where it needs to be. However the crop also sets the histogram limits of black and white, and the borders of a film neg will throw this off a lot (see the above gray monstrosity). On the CROP tab, auto is fine just increase "border %" which ups the area around the detection, and up the "buffer %" which ignores colors/brightness in calculating the histogram. The latter gives you buffer (ha ha) to miss cropping and neglect that in the histogram estimate. The only way this would ruin the actual image's color is if the buffer excluded significantly differently colors around the borders of an image, which would be a super strange composition.
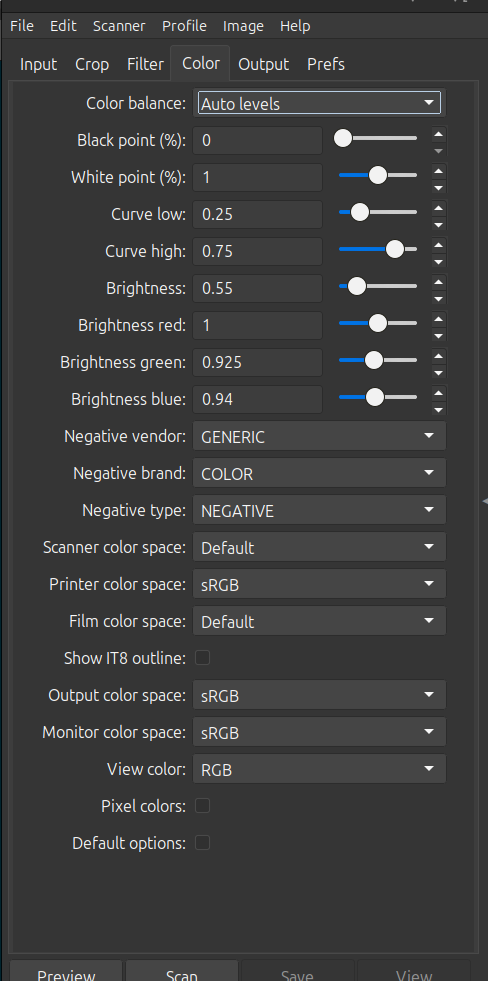
I also spent ALOT of time messing with the white balancing in the color tab. Long story short, just use the autolevels it works well 98% of the time everytime. It also seemed that the "film base color" locking actually made the fog worse, in real life the film base is pale green and it could be that vuescan doesnt know what to do with that. The best I got in the color tab was with these settings,
What actually works for LomoPurple
- Lock the exposure with a blank frame or border, I used a value of 3 but your mileage may vary. I shot it at 200 iso and the negatives were pretty dense, on my next roll I will probably rate it at 400 and that may change the scanner exposure value.
- Do not use the "lock film base", it increased the haze in alot of my images.
- Crank up the border % and buffer % in the cropping. I used 2.8 and 11. With auto cropping this leaves a few pixels around the image.
- Leave color balance as "auto levels". Just fix any weirdness in post. I messed with some of the other parameters slightly but it was minimal effect compared to the color balance setting.
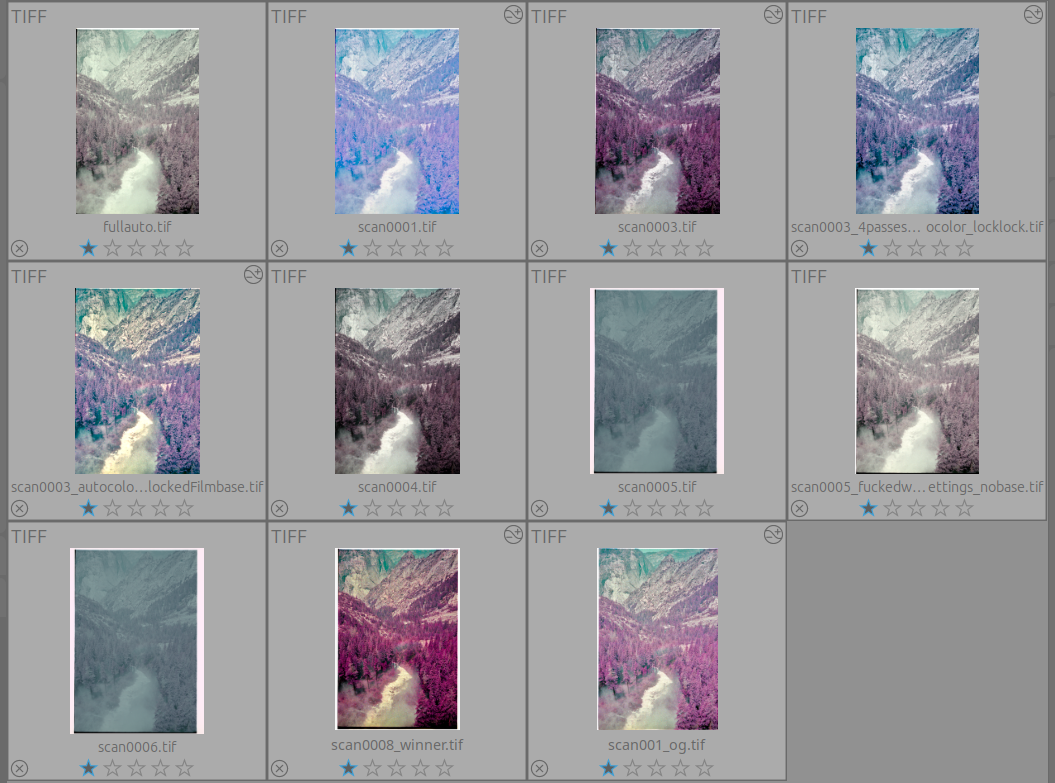
Doing the above got me this as the base scan for editing.
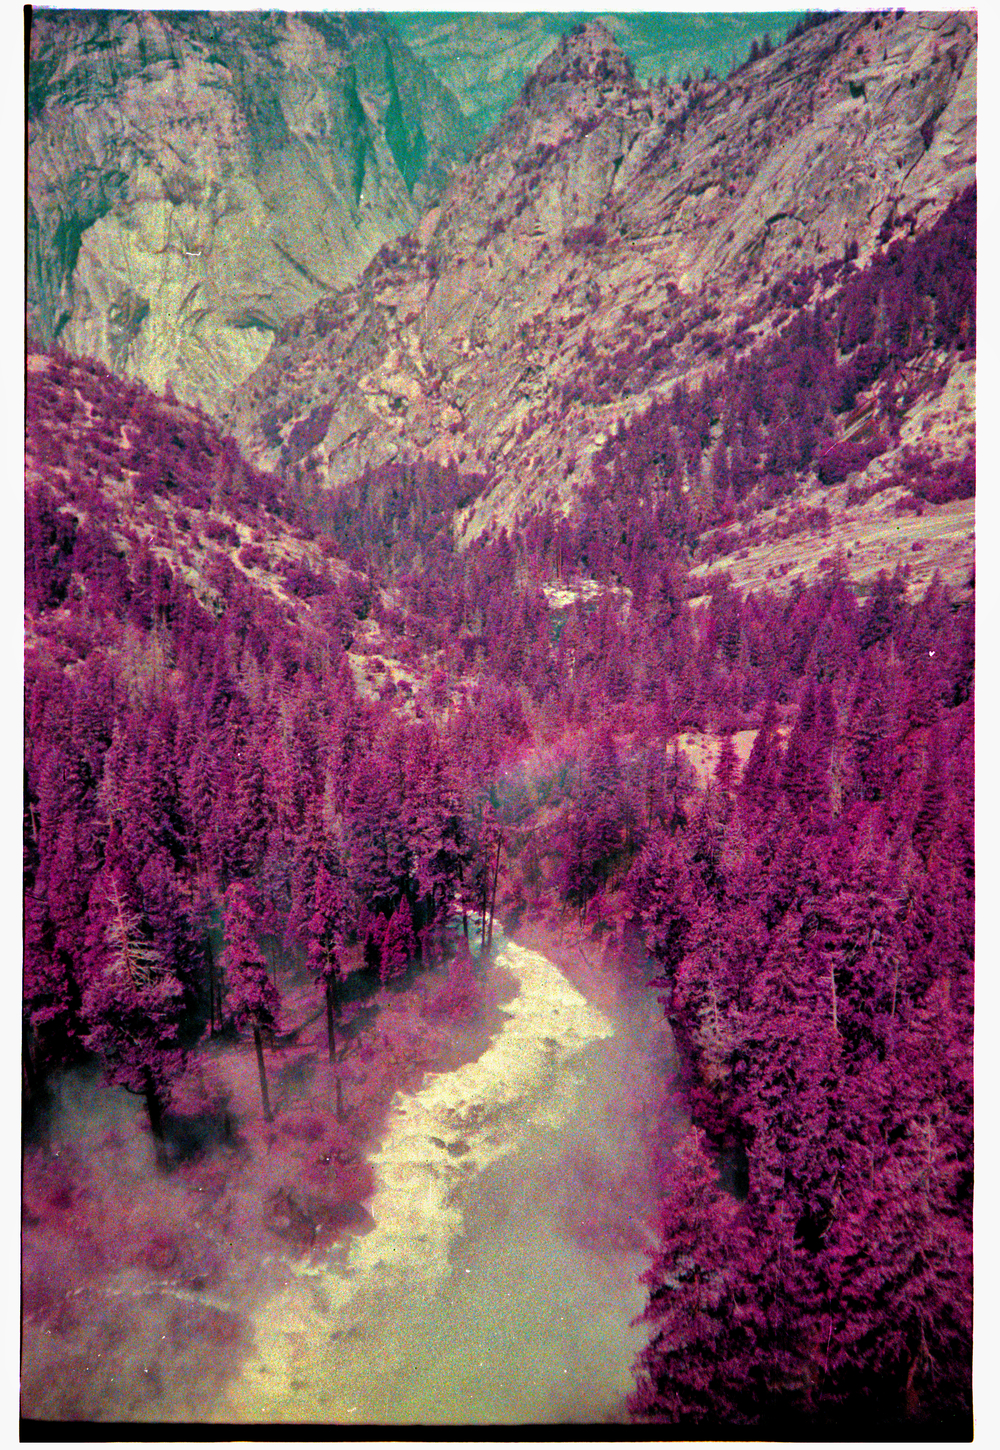
After removing the dust, microscratches, adjusting the exposure and contrast I finally got what I was aiming for.
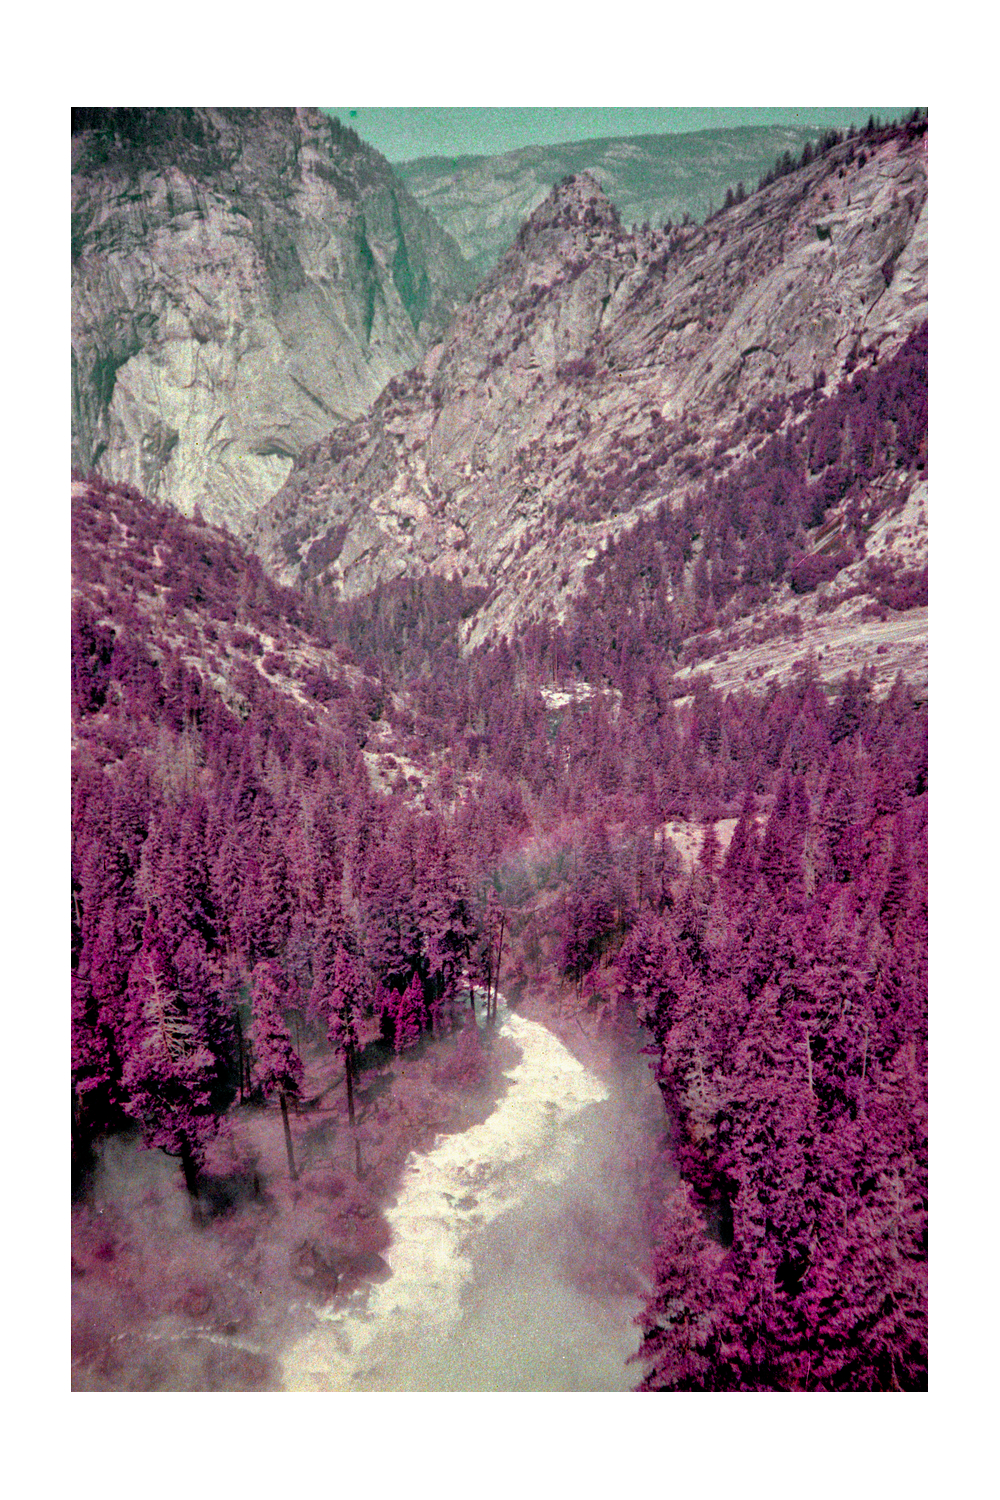
Hope you enjoyed or learned something!